A Beginner Calisthenics Workout That You Can Do Anywhere
May 2, 2025
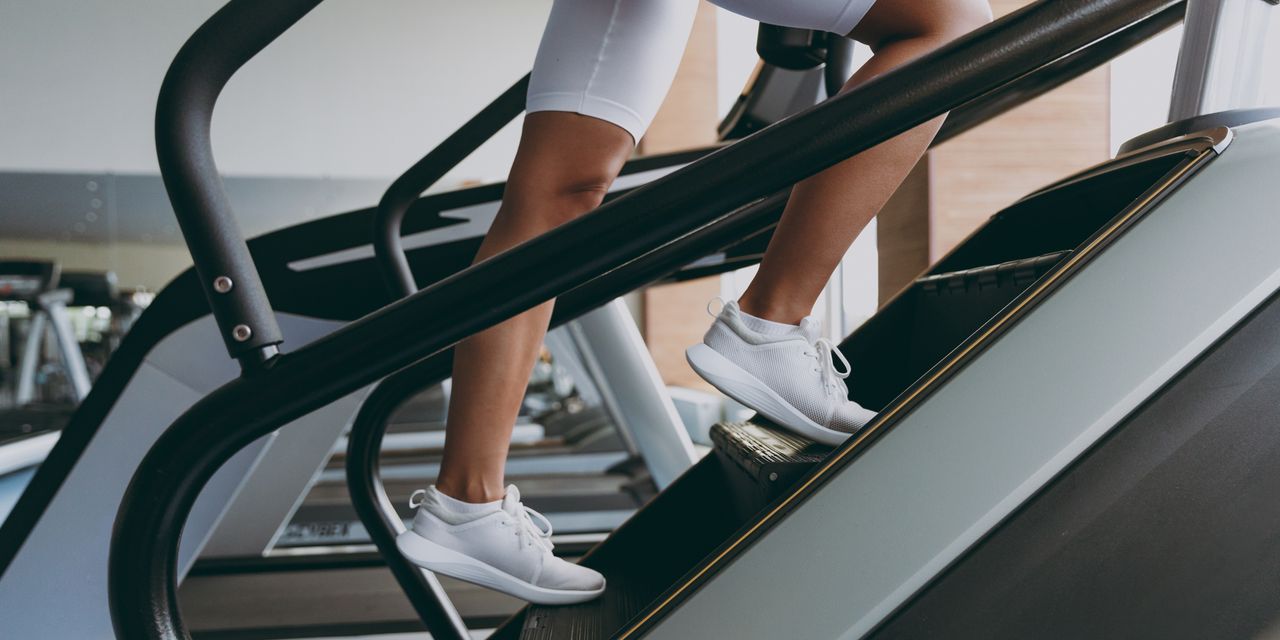
If you want to try an equipment-free routine that’s super functional and will still get your muscles working, might we recommend a beginner calisthenics workout?
It’s actually a really good way to get started with strength training. While your mind might go to tough, advanced moves with you first hear “calisthenics”—think: pull-ups, handstands (or, um, handstand push-ups), or burpees—the real truth is a little simpler: Basically, calisthenics is bodyweight training, Susane Pata, a NASM-certified personal trainer in Miami, tells SELF. Any exercise that you can perform that uses your own bodyweight as external load (no dumbbells, barbells, or bands), can qualify. So that means squats, lunges, glute bridges, and planks can all be considered calisthenics exercises! A lot less intimidating than you thought, right?
Want to give it a try? Read on for the details on which exercises to choose, the benefits you can reap—and how you can put it all into practice, with a six-move beginner calisthenics workout that Pata created just for SELF.
What makes for a good calisthenics workout?
The exercises you program come in clutch here. The best calisthenics workouts focus on foundational movement patterns, Pata says. That’s because these mimic the way we actually move in everyday life—think squat, lunge, plank, hinge, rotate, push, and pull.
It’s important to master the basic form of these before you start dabbling in fancier versions. Nailing foundational movement patterns with proper form and in a solid range of motion can help reduce your risk of injury once you feel ready to try more challenging, complex exercises—say, by adding weight to a squat or a single-leg hop to a reverse lunge. “You have to master [the basics] first in order to effectively and safely move up the progressive timeline,” Pata says.
The best calisthenics exercises for functional fitness are those that will have you moving in multiple planes of motion—again, because that’s how we go through everyday life! Lots of traditional gym staples (like squats, lunges, or presses) involve the sagittal plane, or forward and backward motion. But working in movement on the other planes—frontal, which includes side to side movement (like lateral lunges), and transverse, which involves rotation (like wood chops)—is vital too.
Multiplanar movement can help reduce your risk of injury and allow you to move strong, Pata says. And it has a direct carryover to everyday life, since there will inevitably be instances when you need to quickly cut to the side (like to step out of the way of an oncoming car, which would be motion in the frontal plane) and move diagonally (like to twist to put away dishes, which would qualify as transverse plane motion). Training in all directions just makes for a more functional—and better balanced—workout.
What are the benefits of calisthenics?
A biggie: You can build body awareness with calisthenics when you learn how to do the primary movement patterns properly, Pata says. This can help set you up for exercise success down the line, like if you’re looking to add weight or try a more advanced variation.
In addition, unilateral calisthenics, where just one side of the body is primarily driving the movement—think lunges, single-leg glute bridges, and side planks—can be a great way to identify and ultimately correct imbalances that exist in your body, Pata says. By ID’ing and then working on your imbalances, you can ensure the correct muscles are firing during your exercises, which can reduce the chance of injury.
Another big plus of calisthenics is that they can be a great way to get started with and feel successful doing a workout program, which can increase your confidence and encourage you to stick with an exercise routine, Pata says. Compared to workouts chock-full of heavy resistance moves, calisthenics can feel easier to execute, thus upping your chances of feeling accomplished by the end of your routine.
The very nature of calisthenics—the exercises use just your bodyweight, so you can usually crank out a bunch of reps—also makes it great for building muscular endurance, where your muscles can work for a longer period of time without tiring. Plus, since more reps equal longer working periods, you’ll also gain cardiorespiratory benefits. And that’s especially true if you program calisthenics in a high-intensity interval training (HIIT) format, where you alternate periods of hard work with recovery.
What’s more, calisthenics are easy to progress—even without adding weight—so you can continually provide greater and greater challenge to your muscles over time. For instance, you can decrease rest time, add in plyometric elements (say, jumps or hops), or increase your speed, says Pata.
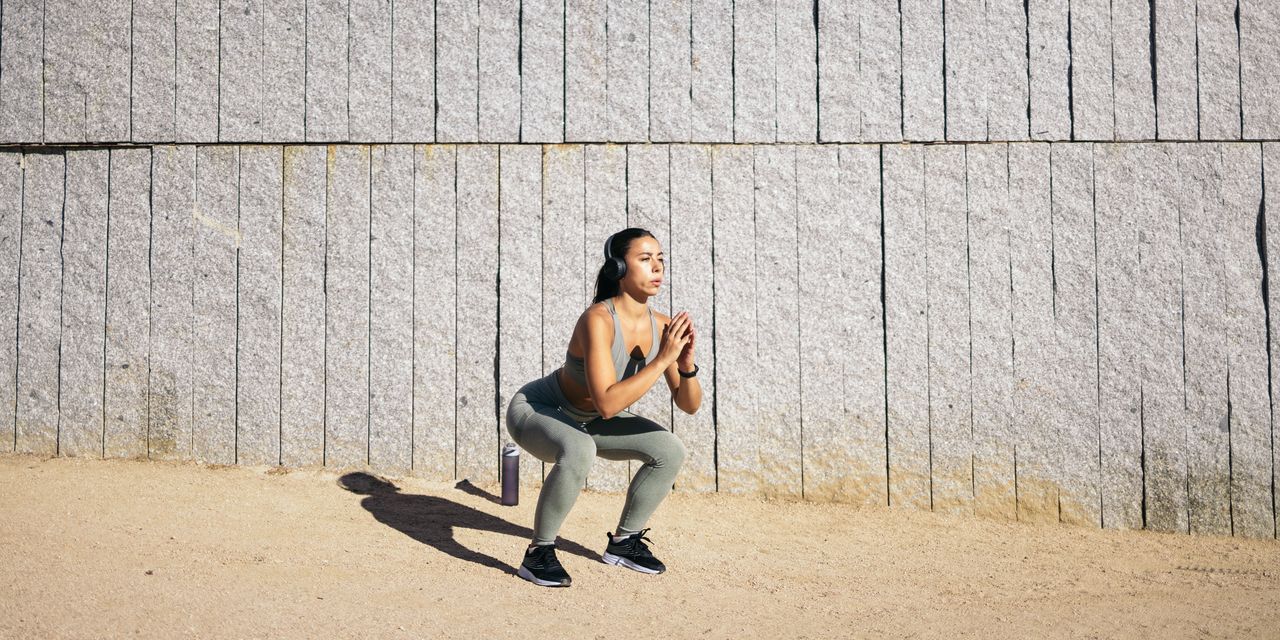
Finally, because you don’t need any equipment to do calisthenics, they can be a stellar option for slotting in exercise outside of a gym setting. You can even do a calisthenics workouts outside, which is a great way to add some variety into your normal routine.
How can beginners start with calisthenics?
If you’re just getting started with calisthenics—or any kind of workout plan, really—it’s super important that you don’t go all-in from the get-go: You want to give your body time to adapt to all the new stress it’s experiencing. That’s why you should start with no more than two days a week, Pata suggests. After several weeks, if you’re looking for more, you can add a third day, as long as your body is tolerating it well. In either case, you should also make sure to space out your workouts with at least one full day in between them, to give your muscles time to recover. That said, pay attention to how you’re feeling and adjust accordingly. For instance, if it’s been two days since your calisthenics workout but you’re still feeling sore, consider going for a walk or doing some gentle stretches instead of trying to power through your planned routine.
Now that we’ve gone over everything you need to know about this cool way of training, let’s get started with this full-body, beginner calisthenics workout designed to build functional strength and get your body moving!
The Workout
What you need: A box, bench, or step for the elevated push-up. Otherwise, all you need is your bodyweight for this calisthenics beginner workout—no equipment required!
Exercises
Superset 1:
- Squat
- Reverse Lunge to Rotation
Superset 2:
- Glute Bridge
- Modified Forearm Side Plank
Superset 3:
- Skater Hop to Floor Tap
- Hands-Elevated Push-Up
Directions
- Do each exercise in Superset 1 for 30 seconds, resting 30 to 60 seconds after each exercise. Repeat for 2 total rounds. Then, rest 60 seconds before moving onto Superset 2. Repeat for Superset 2 and Superset 3.
- For a more challenging workout, increase the work period: Start with 45 seconds of work, then move up to 60 seconds if you’re still looking for more.
-
Katie Thompson
Squat
-
Start standing with your feet just wider than hip-width apart and engage your core.
-
Hinge at your hips, sending your butt back and bending both knees until your thighs are parallel to the floor. Focus on the movement coming from your hips, glutes, and hamstrings—not your knees and quads. Keep your core engaged so your back stays straight.
-
Stand by squeezing your glutes and return to your starting position.
-
That’s 1 rep. Continue performing reps for 30 seconds.
The squat is a classic lower-body move that especially works your quads and glutes. Squatting in front of a chair and tapping your butt on the seat at the bottom of every rep can be helpful, Pata says, as this will give you feedback on how low you’re going.
-
-
Katie Thompson
Reverse Lunge to Rotation
- Stand with your feet shoulder-width apart. This is the starting position.
- Step back (about 2 feet) with your right foot, landing on the ball of your right foot and keeping your heel off the floor. Bend both knees to create 90-degree angles with your legs. Your chest should be upright and your torso should be leaning slightly forward so that your back is flat and not arched or rounded forward. Your right quad should be parallel to the floor, and your butt and core should be engaged.
- Slowly rotate your torso to the right. You should feel a nice stretch in your mid back.
- Twist back to center, and then push through the heel of your left foot to return to the starting position. Now repeat on the other side. This is 1 rep.
- Continue performing reps, alternating sides, for 30 seconds.
Lunges help build the single-leg strength you need to walk, run, and climb stairs, making them a super functional exercise. The reverse lunge is generally more beginner-friendly than the forward version, since it requires less stability. And by adding a rotation, you are working in the transverse plane of motion, Pata says.
-
Katie Thompson
Glute Bridge
- Lie on your back with your hands at your sides, knees bent, and feet flat on the floor hip-width apart. This is the starting position.
- Squeeze your glutes and abs and push through your heels to lift your hips a few inches off the floor until your body forms a straight line from your shoulders to your knees. Hold this position for a second, making sure to maintain tension so your knees don’t collapse in.
- Slowly lower your hips to return to the starting position. That’s 1 rep.
- Continue performing reps for 30 seconds.
The glute bridge is a low-risk way to learn how to hinge from your hips, a skill that can benefit you in more advanced exercises, like deadlifts. Your glutes and hamstrings will be feeling it here!
-
Katie Thompson
Modified Forearm Side Plank
- Get into a kneeling forearm side plank by propping up your body on your right forearm, with your elbow stacked underneath your shoulder and your hand in front of your body. Extend your legs, but keep both knees bent and stack your left knee on top of your right.
- Squeeze your abs and glutes to lift your hips off the floor with your left hand resting on your hip.
- Hold for 15 seconds, then switch sides and repeat. If holding it for 15 seconds straight is too challenging, take breaks where you lower yourself down, pause for a few seconds, then push back up into position.
“The side plank is a precursor to training rotation,” Pata says. And though the move itself is not a full rotation, it does fire up muscles—including your core muscles, inner thigh muscles, and the small, stabilizing butt muscles called the gluteus medius and gluteus minimus—that assist with rotation moves later on.
-
Katie Thomspon
Skater Hop to Floor Tap
- Stand with your feet shoulder-width apart.
- Bend your knees slightly, then jump to the right as far as you can, leading with your right foot and swinging your left leg just behind your right.
- Land on your right foot and bend your knee slightly, balancing on that foot for a second. Your right arm should swing behind you as your left arm reaches down to tap the floor.
- Pause for a moment, then jump back to the left, landing on your left foot, knee slightly bent. Your left arm should swing behind you as your right arm reaches down to tap the floor.
- Continue this pattern, moving as quickly as possible, for 30 seconds.
This single-leg exercise gives you a cardio boost and gets you moving in the frontal plane of motion. It also can technically count as a lunge movement, Pata says. Plus, the floor tap motion can qualify as a hip hinge, she adds.
-
Katie Thompson
Hands-Elevated Push-Up
-
Get into a high plank with your hands on a box, bench or step, palms flat, hands shoulder-width apart, and shoulders stacked directly above your wrists. The higher your hands are, the easier it will be.
-
Extend your legs behind you, feet hip-width apart. Engage your core and glutes.
-
Bend your elbows and lower your chest to the bench.
-
Push through the palms of your hands to straighten your arms. That’s 1 rep.
-
Continue performing reps for 30 seconds.
This exercise combines a plank with a pushing motion that really works your upper body, with an extra emphasis on your frontside muscles, like your chest and shoulders.
Demoing the moves below are Nikki Pebbles (GIF 1), a special populations personal trainer in New York City; Landyn Pan (GIF 2), an online fitness and nutrition coach who helps LGBTQ+ individuals feel confident and affirmed in their bodies; Gail Barranda Rivas (GIFs 3 and 6), a certified group fitness instructor, functional strength coach, Pilates and yoga instructor, and domestic and international fitness presenter; Alex Orr (GIF 4), a non-diet NASM-certified personal trainer and CNC, and host of The Birdie and the Bees podcast; and Heather Boddy (GIF 5), a group fitness instructor and creator of the Geeknasium workout program.
Related:
-